$ sudo lxc network show lxdbr0
config:
  ipv4.address: 10.218.43.1/24
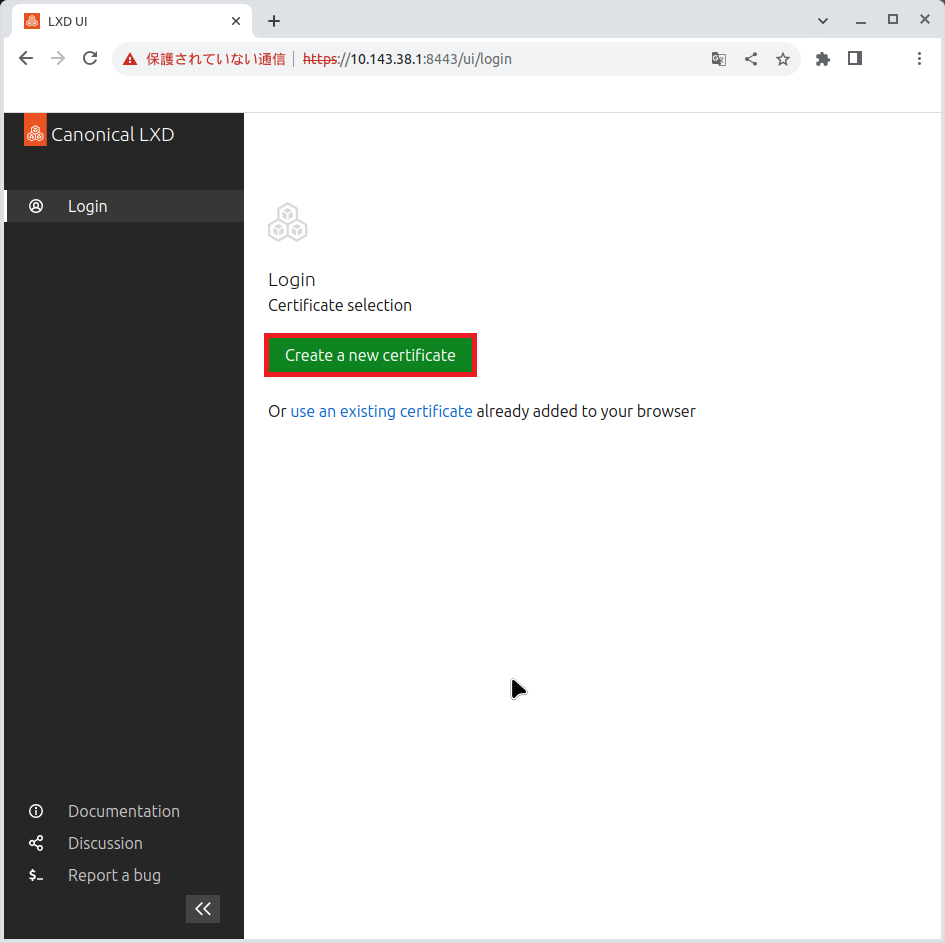
【https://10.218.43.1:8443でchrome表示】
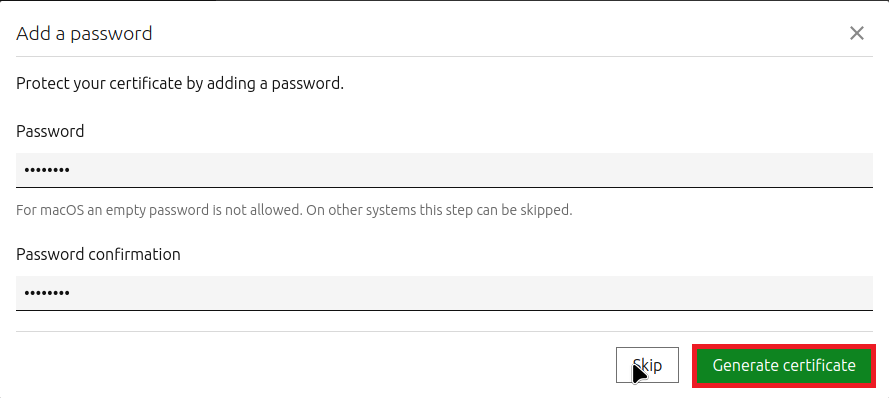
①新しい証明書の作成
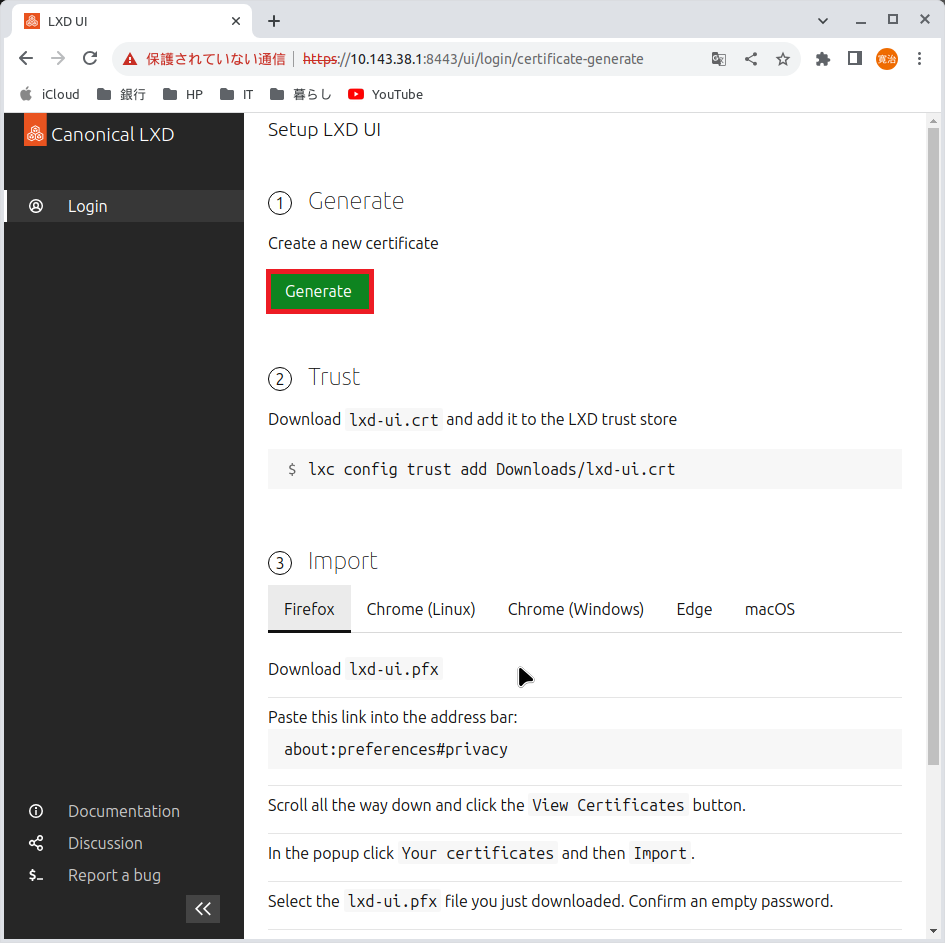
②LXD trust
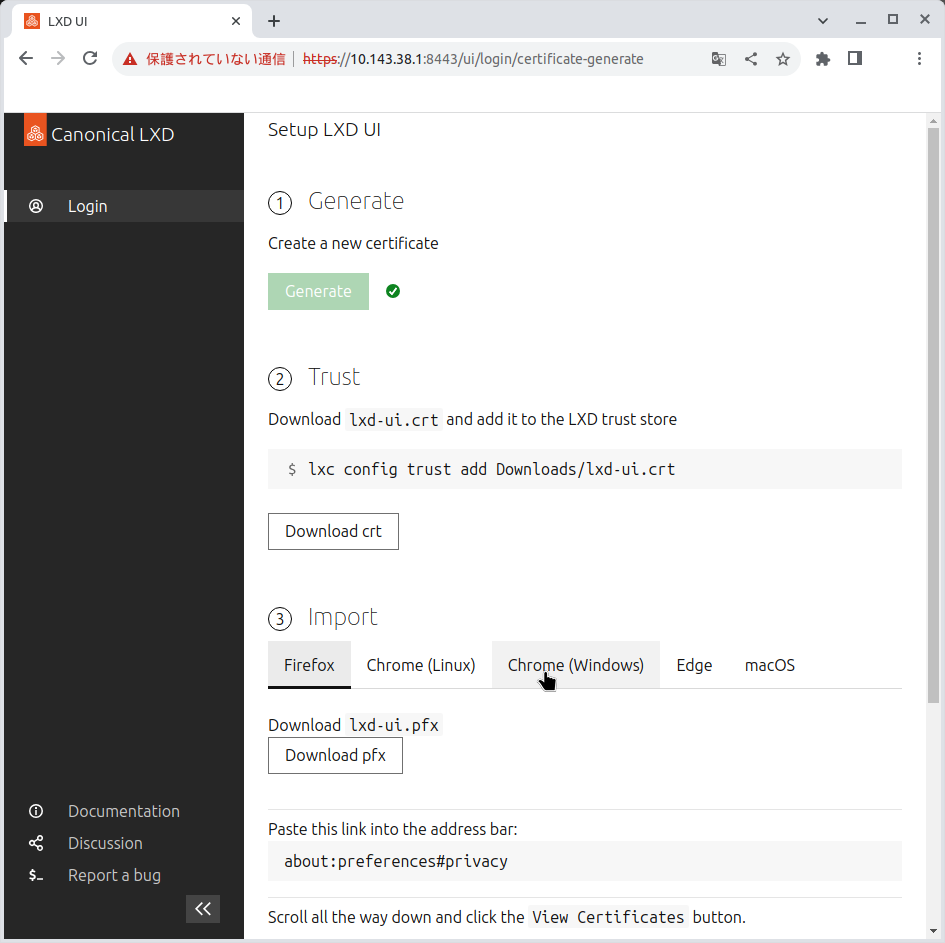
日本語表示なので、「Download crt」ボタンをクリックすると、フォルダ「ダウンロード」にダウンロードされる。なので、trustの追加は、フォルダ「ダウンロード」内で行う。
$ cd ダウンロード
$ ls
lxd-ui.crt

$ sudo lxc config trust add ./lxd-ui.crt
③chromeにpfxファイルをインポートする
「Download pfx」ボタンをクリック。
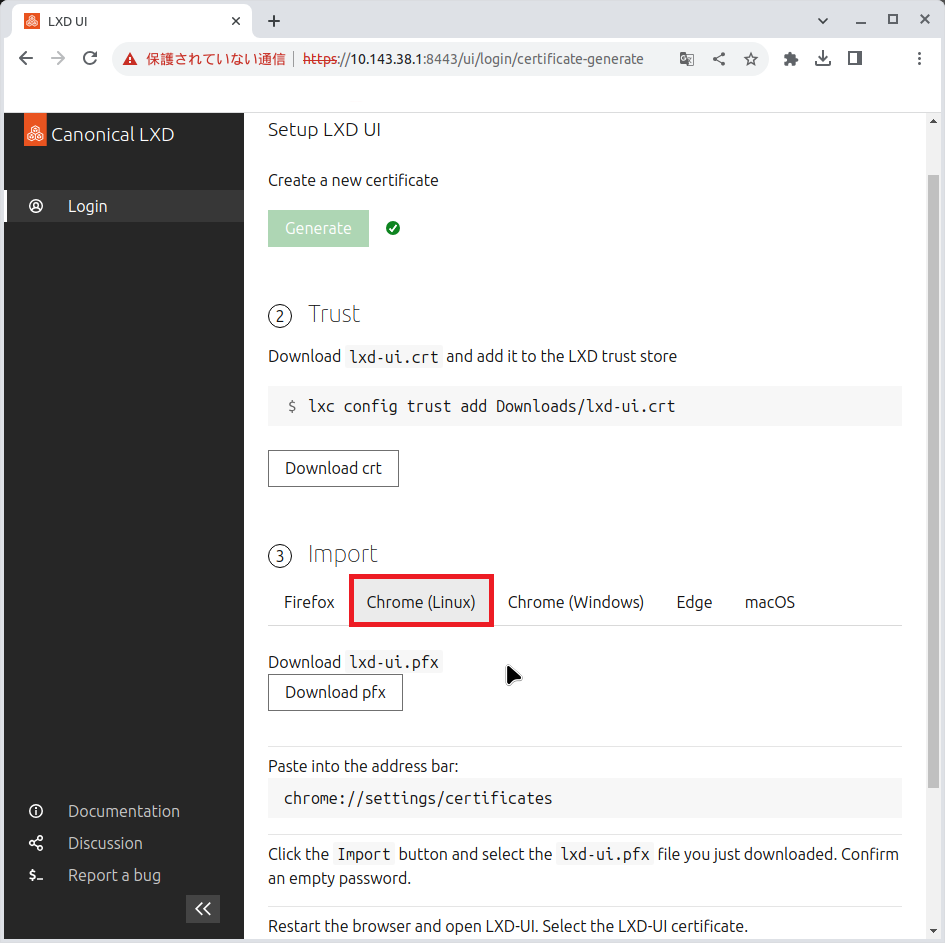
chromeを開いて、アドレスバーに「chrome://settings/certificates」と入力。
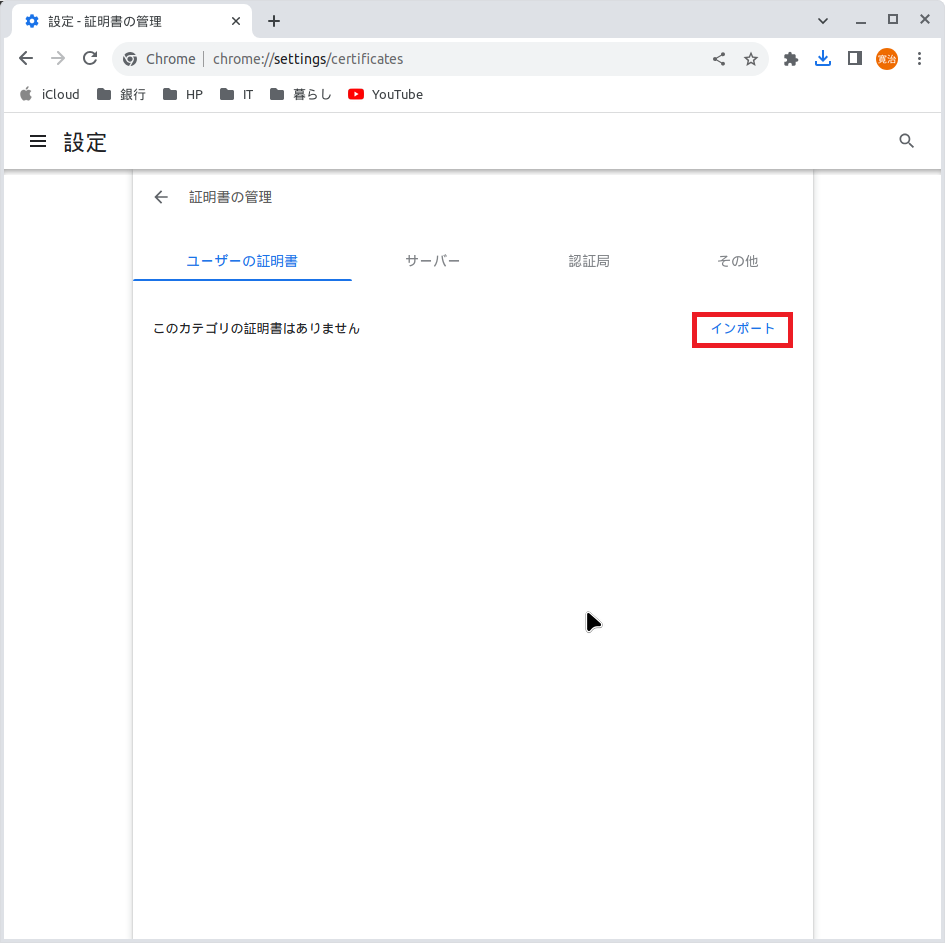
ファイル「lxd-ui.pfx」をインポート。
chromeを閉じる。
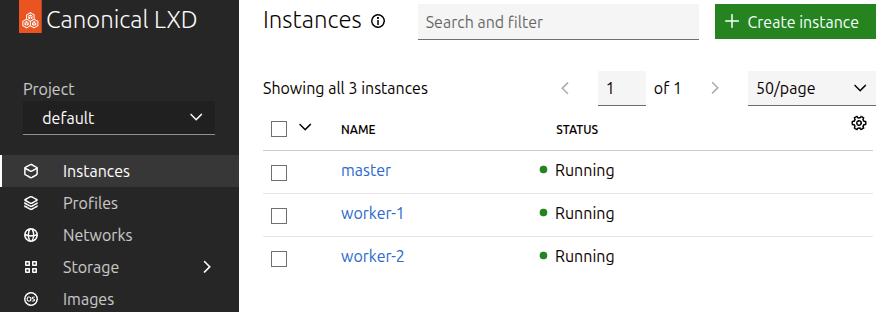
完成
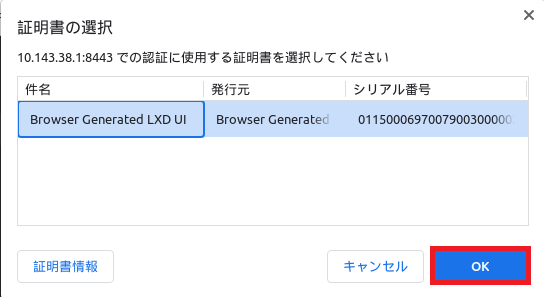
chromeで、LXD UIを開く。(https://10.143.38.1:8443)
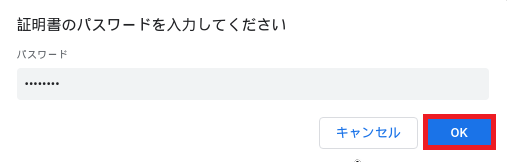
下記の「証明書の選択」ダイアログが出たら、確認後「OK」クリック。