
リポジトリ
epelリポジトリ
# dnf config-manager --set-enabled crb
# dnf install epel-release
remiリポジトリ
# dnf install https://rpms.remirepo.net/enterprise/remi-release-9.rpm
確認
# yum repolist
Nginx

nginxリポジトリ
# nano /etc/yum.repos.d/nginx.repo

[nginx]
name=nginx
repobaseurl=https://nginx.org/packages/mainline/centos/8/$basearch/
gpgcheck=0
enabled=0
インストール
# dnf -y install nginx
# mkdir -p /usr/share/nginx
# chown nginx:nginx /usr/share/nginx
HTTPのポートを開ける
# firewall-cmd --permanent --add-service=http
success
# firewall-cmd --reload
success
HTTPSのポートを開ける
# firewall-cmd --permanent --add-service=https
success
# firewall-cmd --reload
success
nginxディレクトリ アクセス権設定
# usermod -aG nginx rockylinux # ユーザー名「rockylinux」は適宜変更
# chown -R nginx:nginx /usr/share/nginx
# chmod -R 775 /usr/share/nginx
nginx 設定
# nano /etc/nginx/conf.d/default.conf

server {
  listen 80;
  server_name server.local;
  root /usr/share/nginx/html;
  index index.html;

  charset utf-8;
}

# Settings for a TLS enabled server.
server {
  listen 443 ssl http2;
  server_name server.local;
  root /usr/share/nginx/html;
  index index.html;

  charset utf-8;
  # SSL設定
  ssl_certificate "/etc/pki/tls/certs/server.crt";
  ssl_certificate_key "/etc/pki/tls/private/server.key";

  location / {
  }

  error_page 404 /404.html;
    location = /40x.html {
  }

  error_page 500 502 503 504 /50x.html;
    location = /50x.html {
  }
}
起動確認
# nginx -t
nginx: the configuration file /etc/nginx/nginx.conf syntax is ok
nginx: configuration file /etc/nginx/nginx.conf test is successful
# systemctl start nginx
# systemctl enable nginx
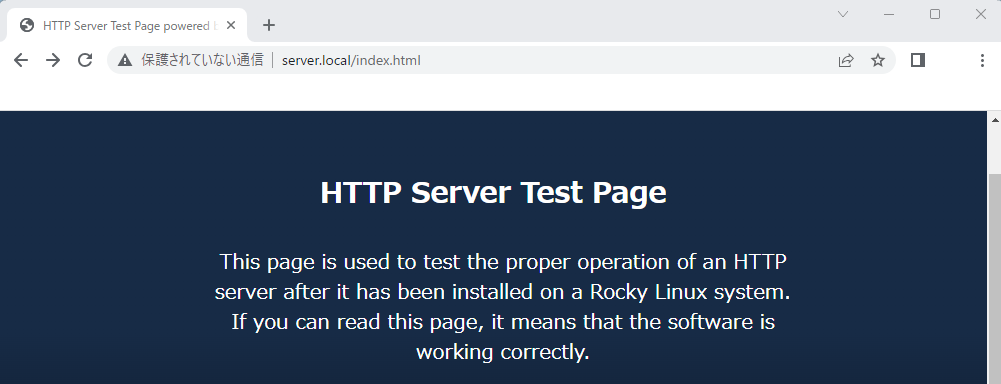
http://
【http://localserver.local/index.html】
https://
サーバ証明書の登録
$ sudo cp server.crt /usr/share/pki/ca-trust-source/anchors
$ sudo update-ca-trust extract

$ rm server.crt
ルート証明書のインストール
プライベート認証局のルート証明書をインストールします。
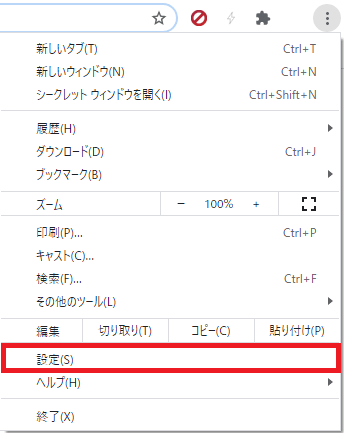
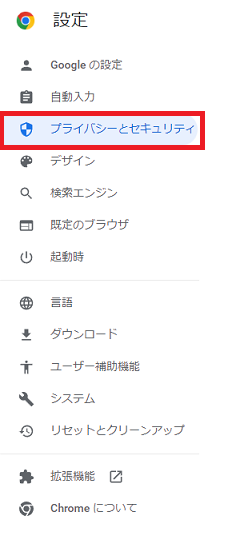
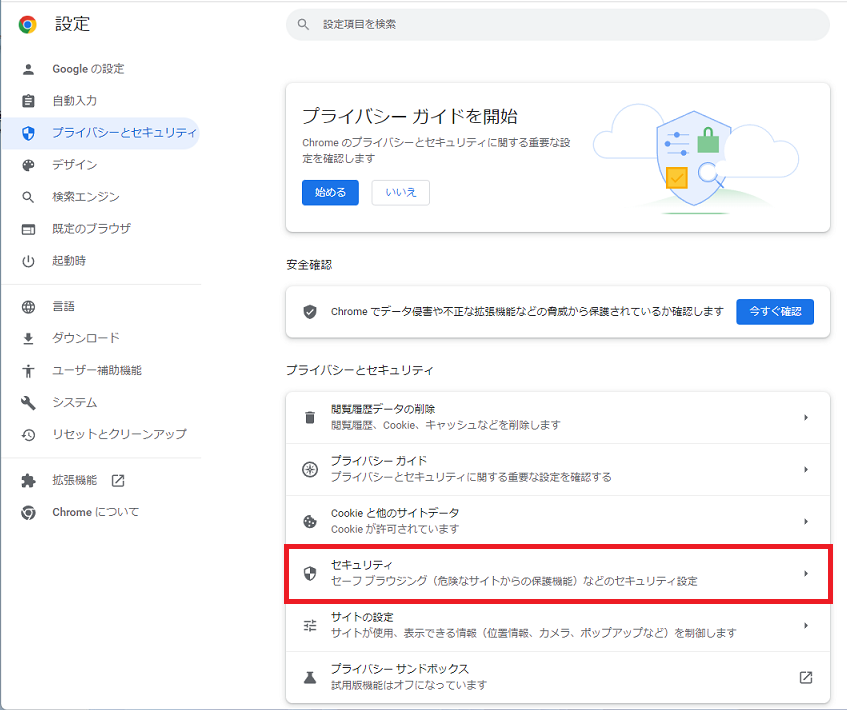
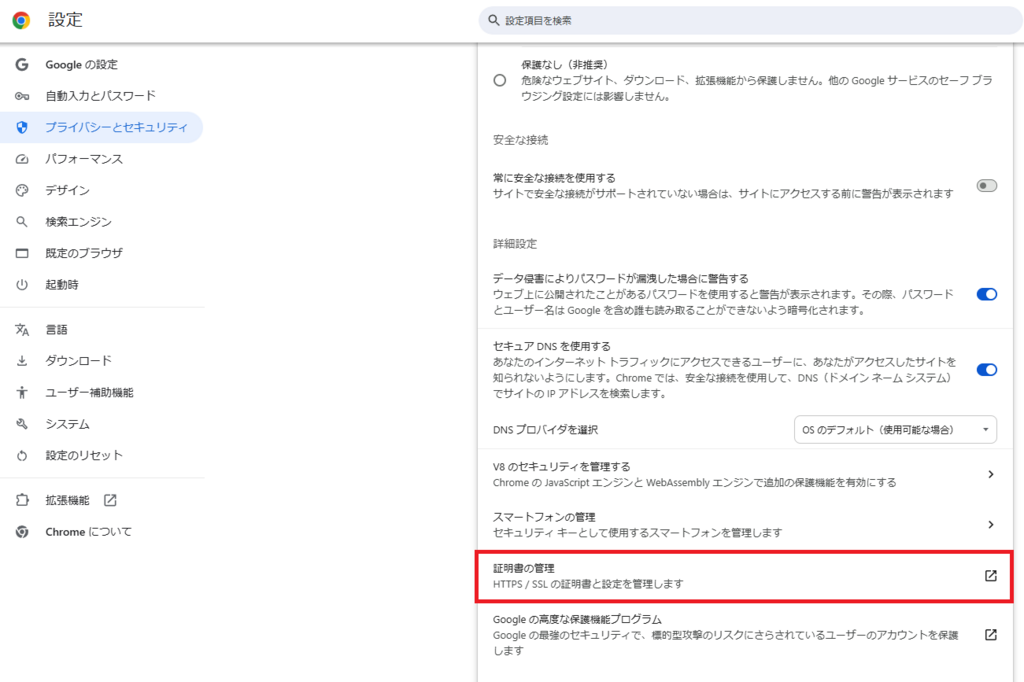
Chrome (Windows)
右上のハンバーガーメニューから「設定」を選択します。
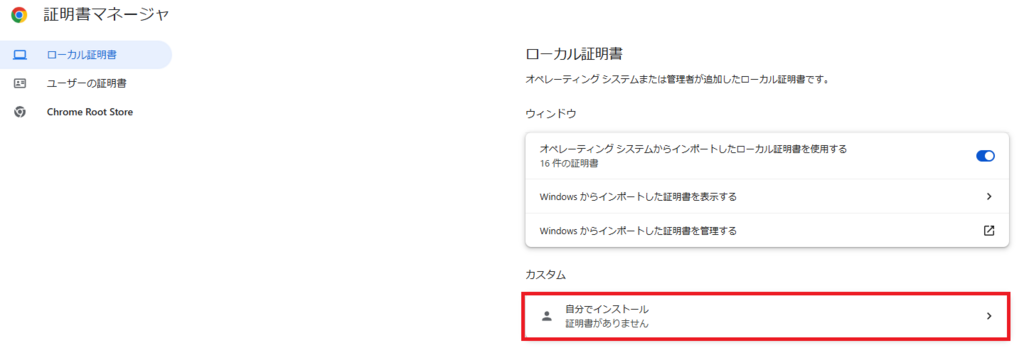

インポートする証明書ファイルをフルパスで設定します。ファイル名は「server.crt」です。「参照(R)…」ボタンをクリックすると探しやすい。
「ファイル名」に指定した証明書のファイル名が表示されます。
【https://localserver.local/index.html】
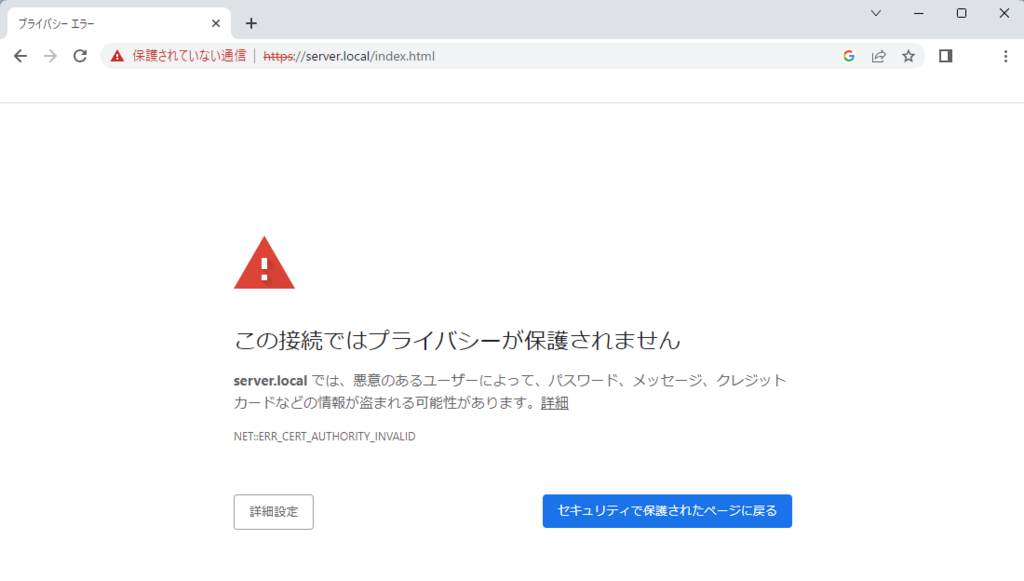
う~ん。
保護されていない通信になっちゃう。
「詳細設定」をクリックして、
「server.localにアクセスする (安全ではありません)」をクリックすれば開くけど…

自己署名証明書だからかなぁ~。
確かに、誰からも認証されていない証明書なんだけど…
